
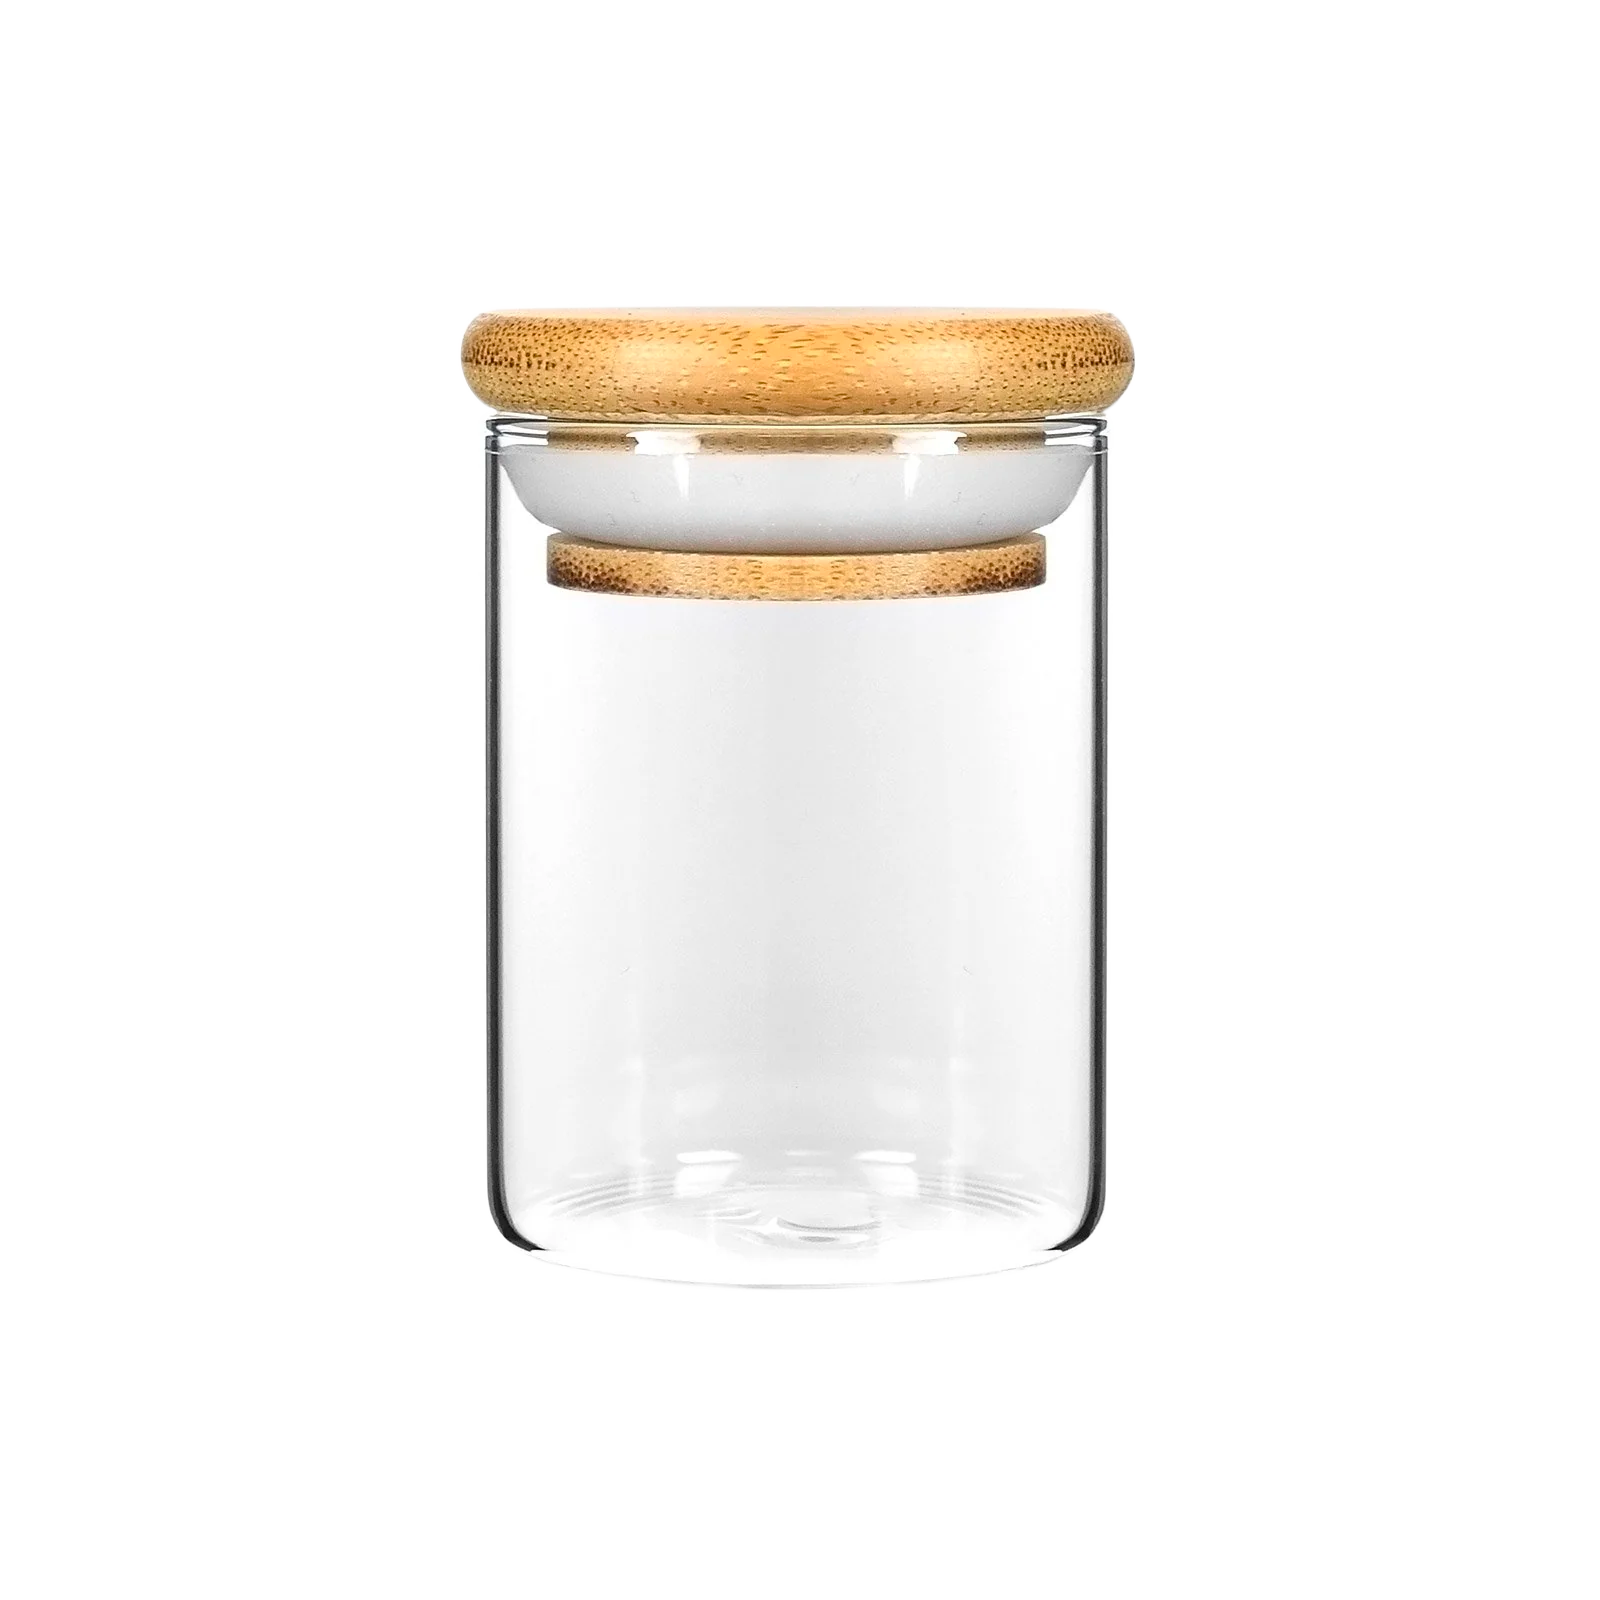

How to Use Wide Mouth Jars for DIY Sprouting
With health consciousness on a steady rise in the U.S., we see our fare share of health crazes. Some may seem a little over-the-top, begging for further research. Others seem to offer some pretty solid results. Sprouting falls in the latter category. For the unfamiliar, sprouting is the practice of germinating seeds to make them easier to digest while also helping you get the most nutrition from any seeds you may be consuming in breads, smoothies, salads, and more. Today, we're going to guide you through a few simple steps to help you effectively sprout from the comforts of your home. Grab your seeds and wide mouth jars and hold onto your hats.
Why Sprout?
Before we delve into how you can sprout, let's take a moment to discuss why you should sprout. Germinated seeds release digestive enzymes that help you to process food. Sprouting also unlocks vitamins and minerals that may have otherwise been wasted in the digestive process. Eating sprouts as opposed to un-germinated seeds can also help you to balance out your blood sugar levels. Seeds are typically loaded with anti-nutrients which prevents you from properly absorbing iron, zinc, magnesium and calcium. Germination reduces the phytic acid responsible for the anti-nutrient qualities of seeds. You'll also find less starch in a seed that's been sprouted.
What You'll Need to Sprout
- wide mouth jars (1 will do depending on how many seeds you intend to sprout)
- sprouting lid
- 3% hydrogen peroxide
- kitchen thermometer
How to Get Your Seeds to Sprout
- Pre-heat your 3% hydrogen peroxide on the stove top until it reaches 140ºF, using your kitchen thermometer to get an accurate temperature reading.
- Pop the seeds into the heated peroxide and keep heating for approximately 5 minutes. Err on the longer side.
- Spend 1 minute rinsing the seeds (tap water is fine).
- Select one of your sanitized wide mouth jars in which to place your rinsed seeds. (See the next section for instructions on how to adequately sanitize your wide mouth jars).
- Fill the wide mouth jar with tap water until all of your seeds are submerged with approximately an inch depth of water above the seeds.
- Remove any floating particles, including floating seeds.
- Screw your sprouting lid shut over the top of the wide mouth jar.
- Let your seeds soak without disturbance for a period of at least 3 hours. Some seeds will require a much longer period so be sure to research the standard soak time for your specific seed type.
- Drain the water from your wide mouth jar through the sprouting lid.
- Run tap water through the sprouting lid to clean it.
- Drain the excess water and repeat the the process again.
- In most cases, you'll need to go through the rinsing and draining processes 2 times a day until your seeds are sprouting. Sprouting can take up to 4 days so be patient.
How to Sanitize Wide Mouth Jars
- soak wide mouth jars on 3/4 cup of bleach for every gallon of water
- soak time should be a minimum of 5 minutes
- thoroughly rinse your wide mouth jars prior to using in the sprouting process
The sprouting process above is recommended by a variety of sources as a means of eliminating bacterial contamination so often associated with a poorly executed sprouting. You can also do your part to make sure your sprouts are bacteria-free by buying seeds that have been certified by the seller as being free of pathogens. Sprouting isn't a difficult process but it can be a lengthy one, so patience is key. In the end, your body is sure to thank you for it.